In this chapter, get ready to
- Study pictures created using stippling technique.
- Draw three overlapped forms and shade them using the stippling technique.
- Assess your own and others’ pictures created using stippling technique.

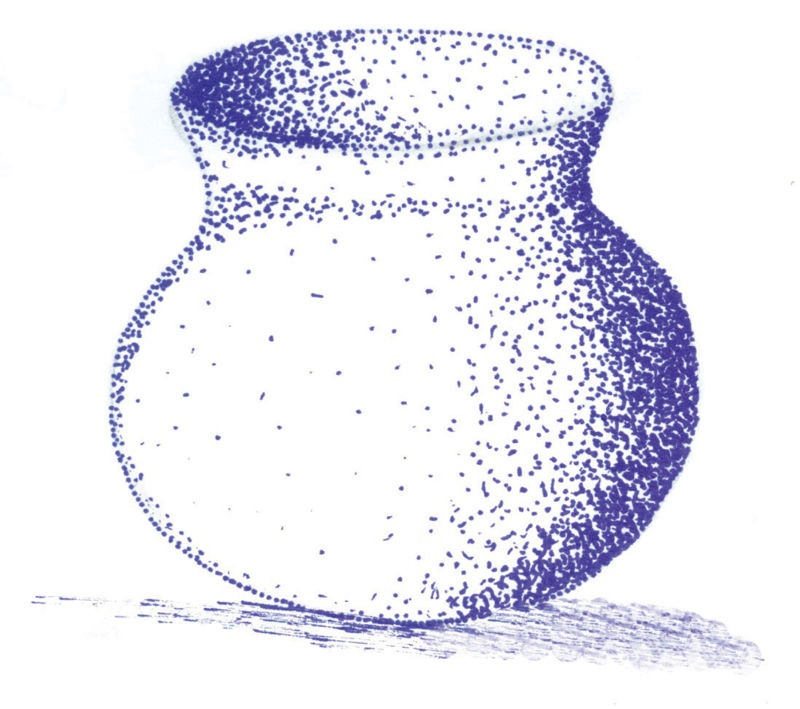
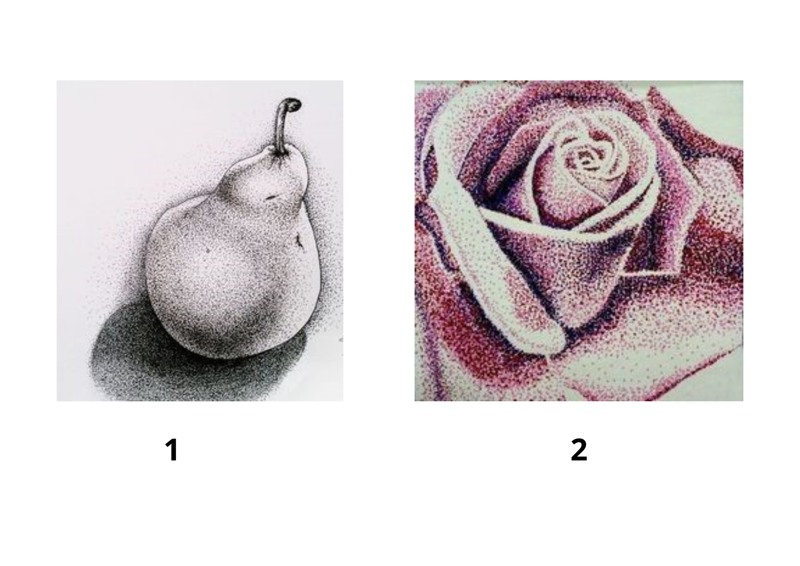
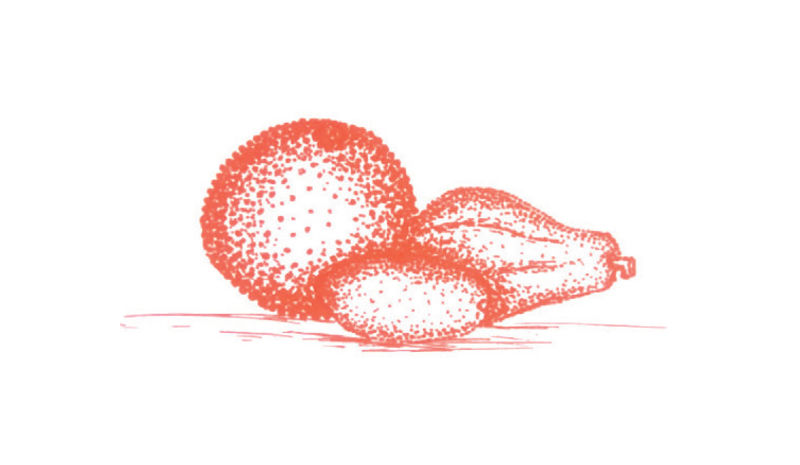
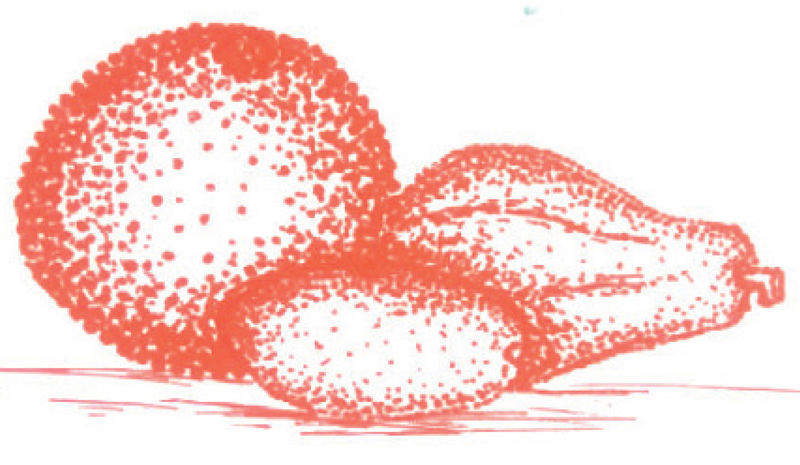
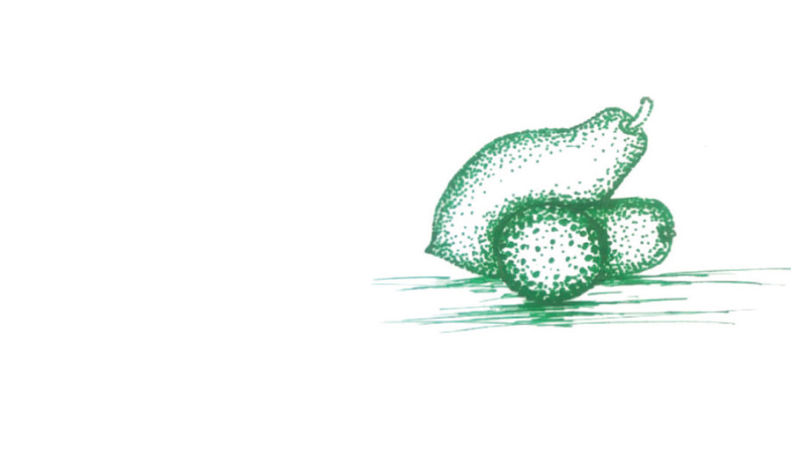
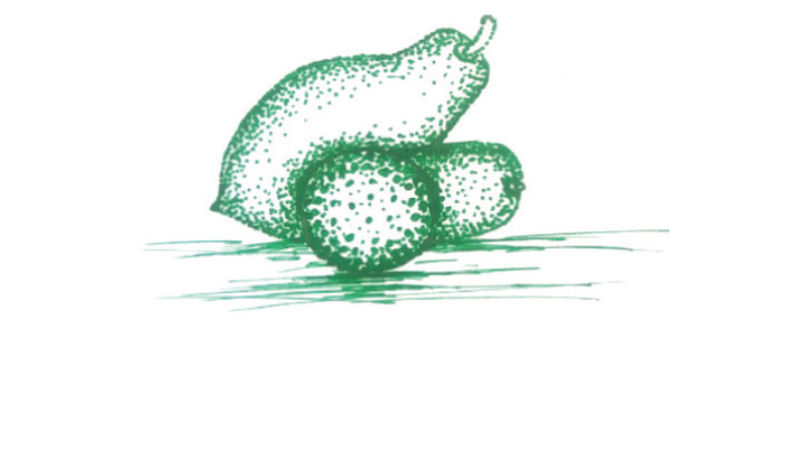
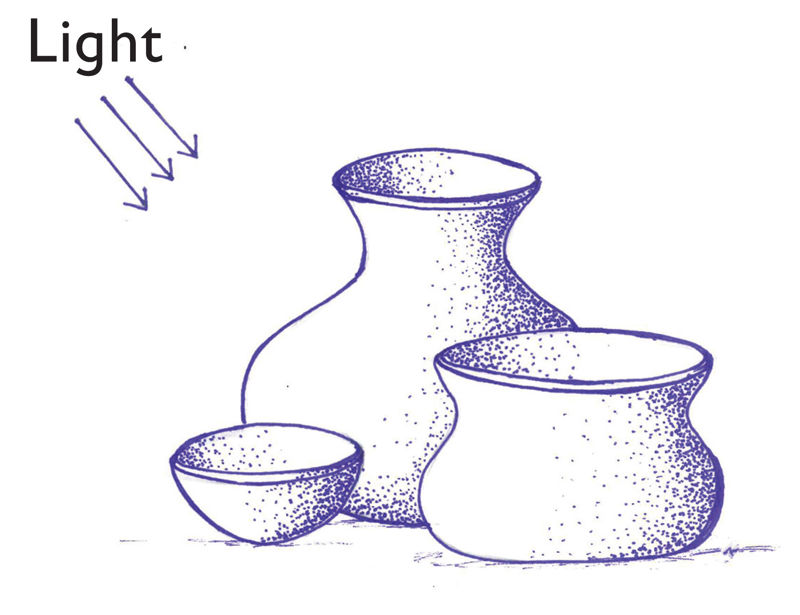
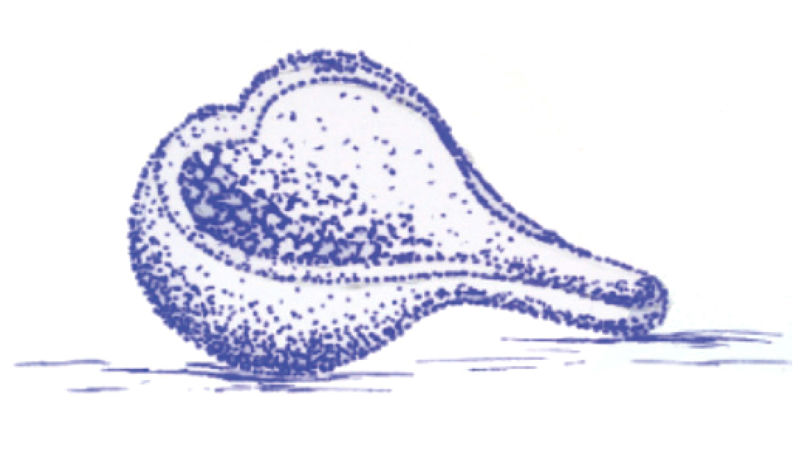
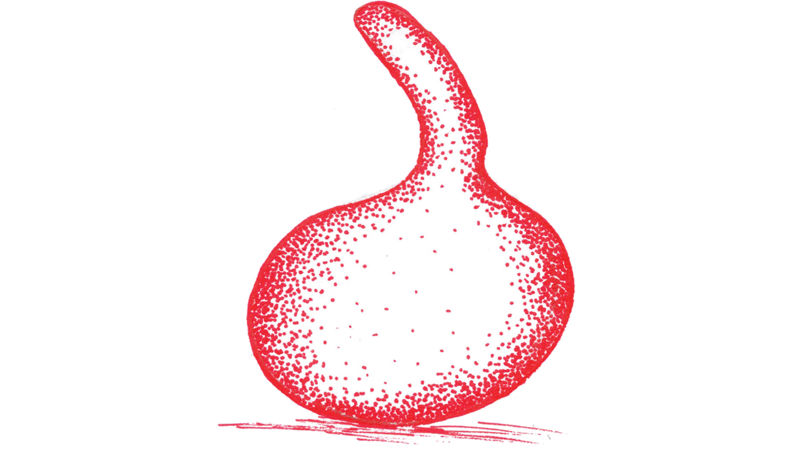
We can create a light to dark effect on a drawing using dots.
When an object is placed on a surface, some of its parts will receive more light than others. This will depend on the direction where most light is coming from. The parts that receive more light appear lighter than those that receive less light. To show dark effects, we use a dense concentration of dots. Sparsely placed dots are used to show light effect.
With the help of your parent or guardian, collect and bring to school paper, charcoal, pencils, pens and ruler among other tools and materials for making drawings using stippling technique.
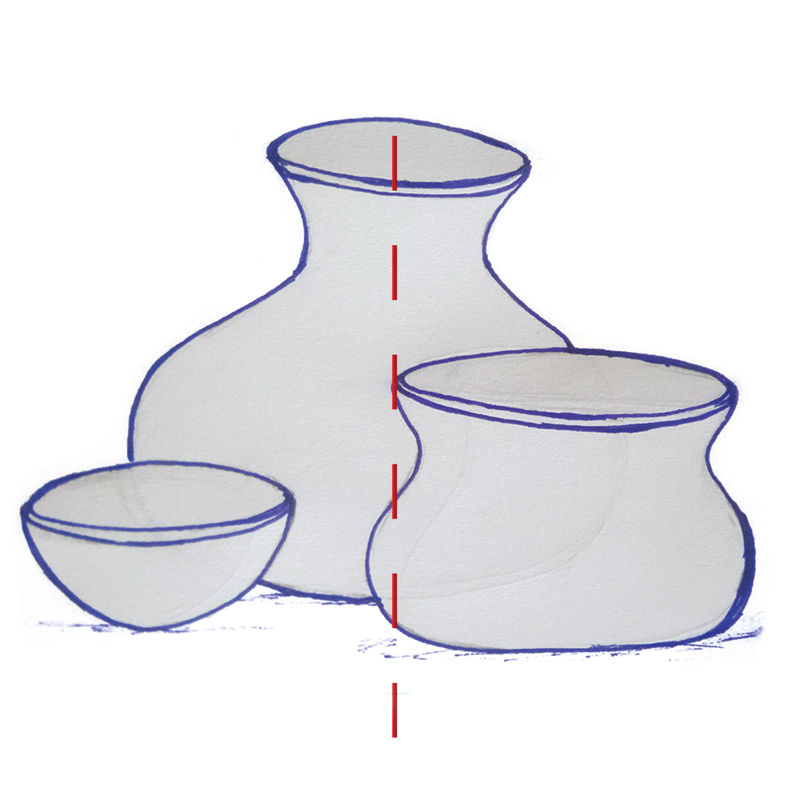
The line of symmetry determines the balance of forms in a composition.
The line of symmetry is an imaginary line that passes through the centre of a drawing both vertically and horizontally.
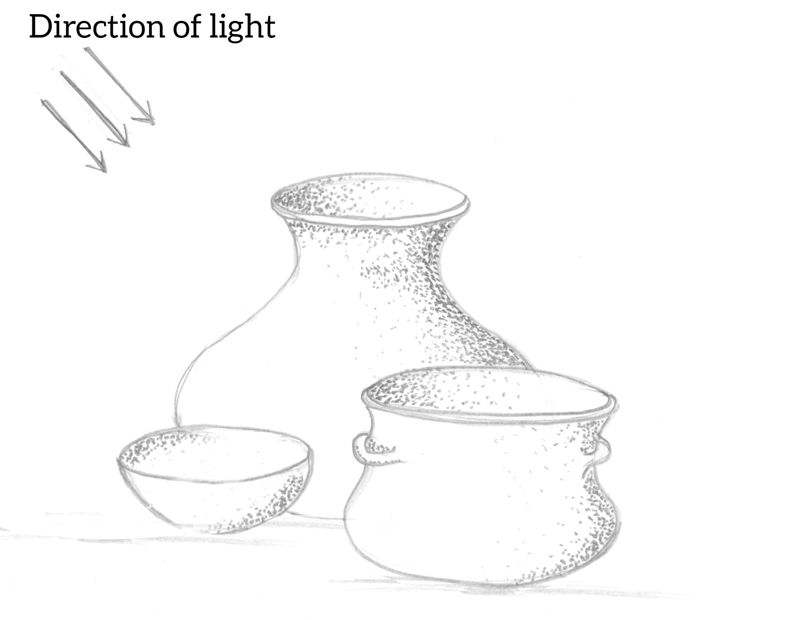
Still life is an arrangement of non-living objects for the purpose of drawing or painting.
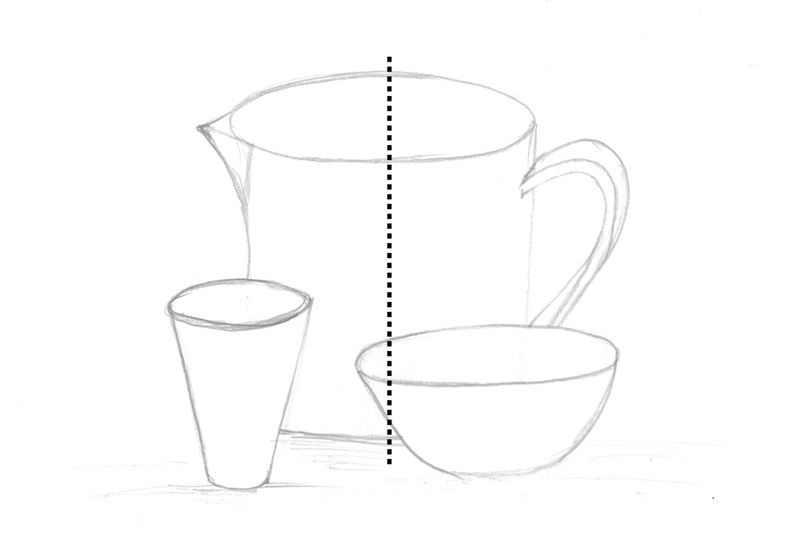
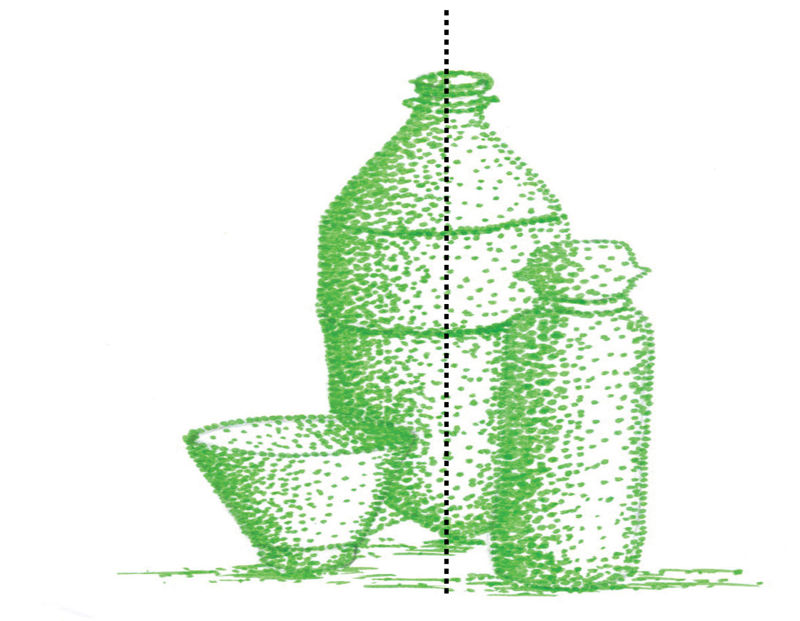

To achieve balance in a composition, objects on both sides of the line of symmetry should be visually equal in weight.
The space available for drawing will determine the size of the composition and the size of the forms.
Proportion refers to how the sizes of different parts of a drawing relate to each other.
To achieve proportion in a drawing, draw objects in their correct sizes and balance the space correctly.
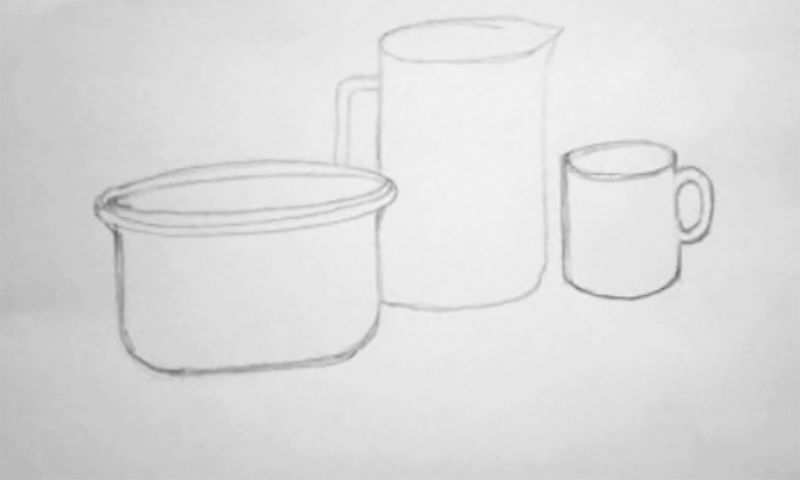
When arranging objects to create a composition, the bigger forms should always be behind the smaller ones.
Draw three overlapped objects of your choice with simple shapes.
Ensure that they balance within the space.
Decide on the direction of light.

Make concentrated dots on the part with less light and scatter the dots on the part with more light as shown.
Remember to include shadows. Shadows are formed when an object is partly blocked from light or formed below the objects.
Display your drawing for others to comment on.
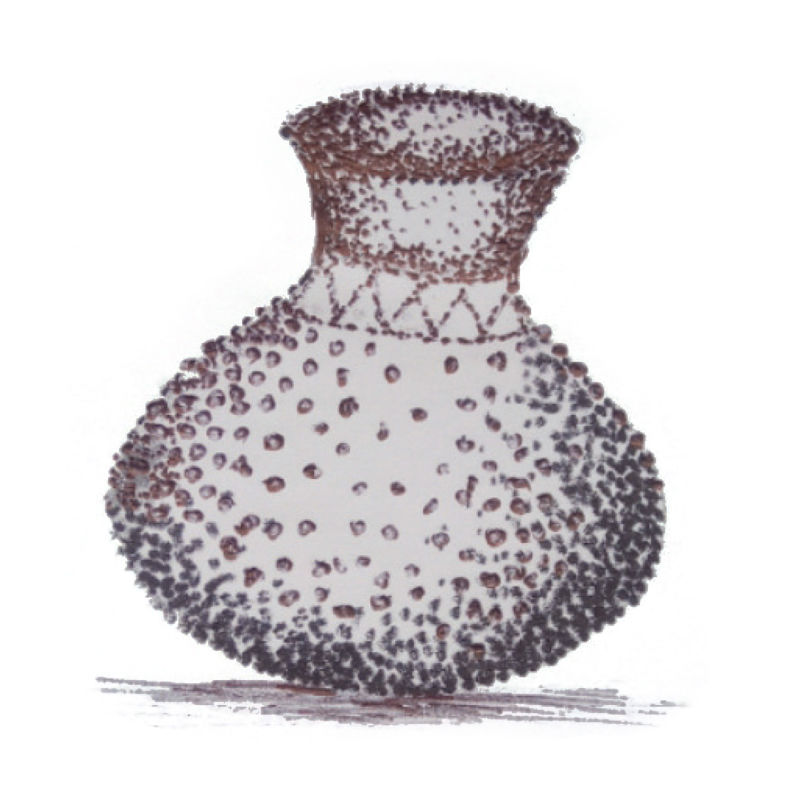
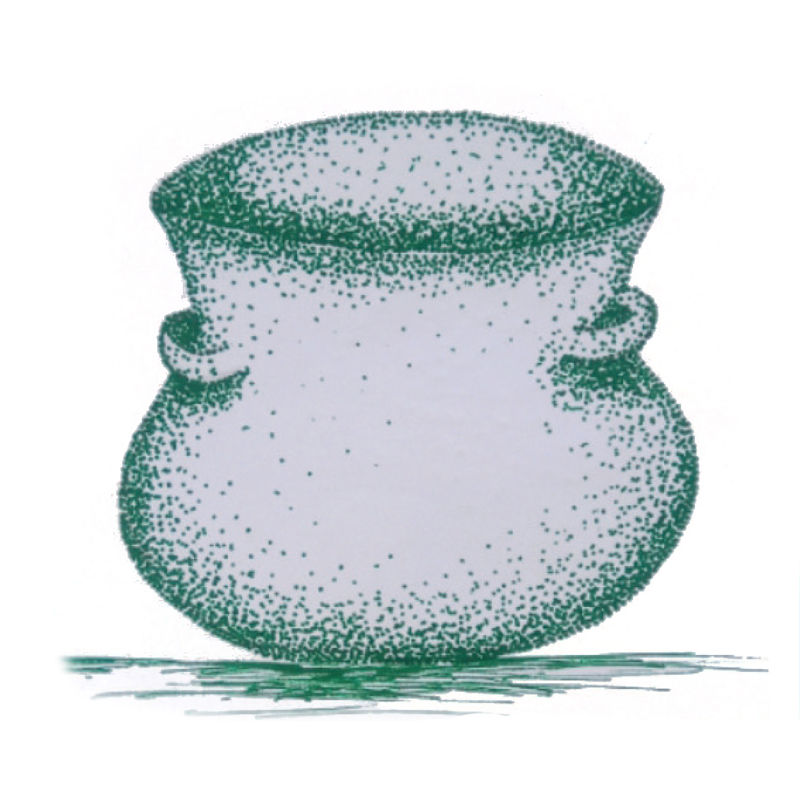
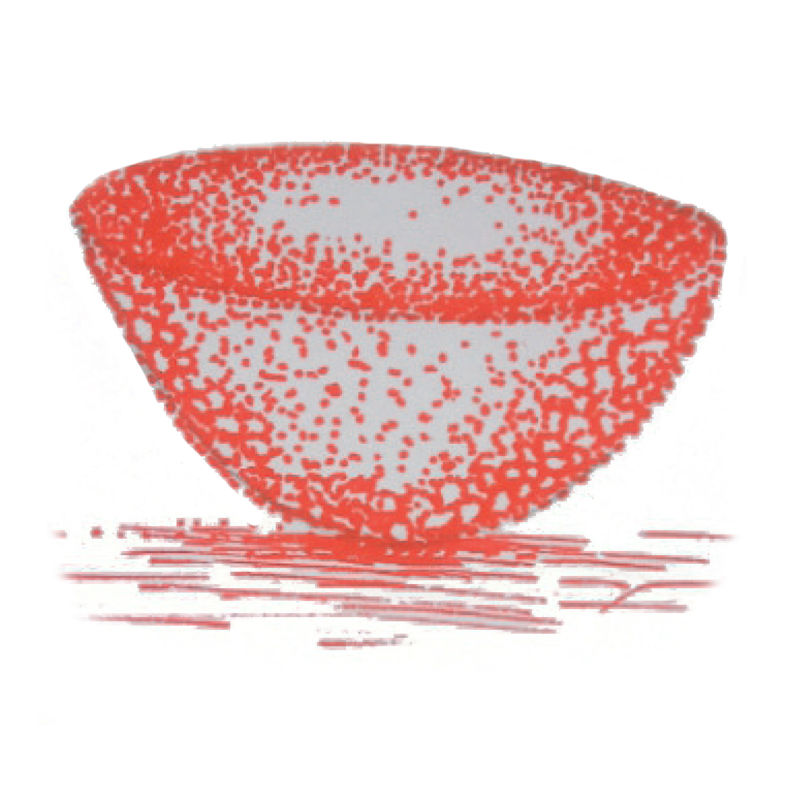
Study the forms below and imagine how you are going to combine and draw them using stippling technique.
Label and display your drawings on the classroom walls. Comment on your own and others’ drawings truthfully and politely.
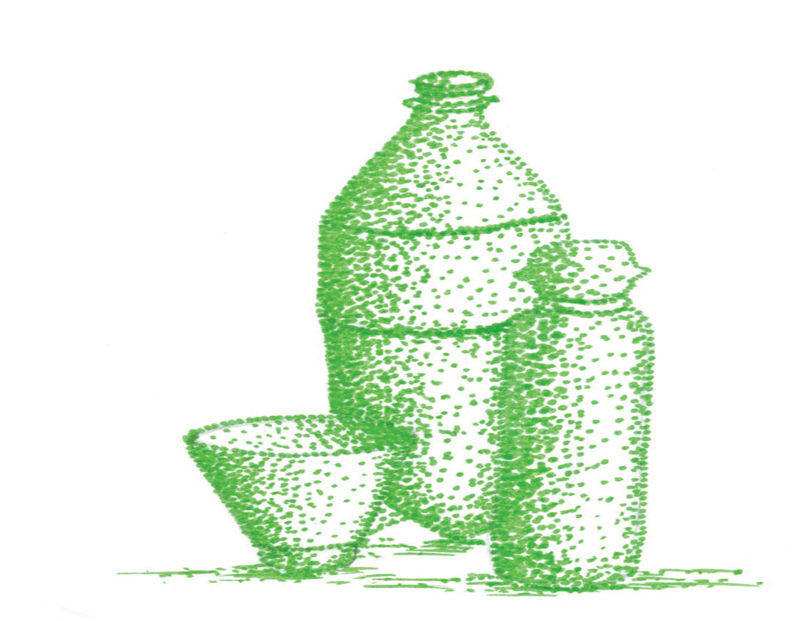
With the help of your parent or guardian, draw a picture of a bottle, cup and bucket. Shade it using stippling technique. Use the picture to decorate the wall of your house.
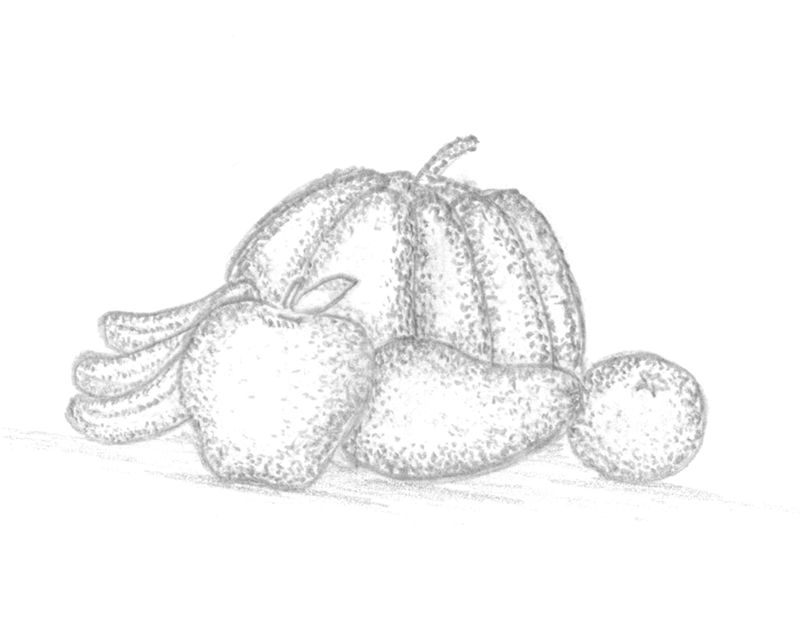
Draw a picture of three kitchen utensils and shade it using stippling technique. Display the picture on the classroom wall to decorate it.
What would you like to do with the text? The text is processed by artificial intelligence, it is not checked or edited! The text may contain errors. Check the accuracy of the text against the original text in the textbook.
Choose the files you want to add. Supported formats are txt, html, htm, pdf, odt, odp, ods, xls, xlsx, ppt, pptx, pps, doc, docx, rtf, png, jpg, jpeg and gif.
| Name | |
|---|---|
| remove |
NB! Links must begin with: “http://”!
Opiq uses essential cookies to make our website work, to help keep you safe, to analyse user interaction and to improve user experience.
Cookie is a small file which is sent from users computer to the website server. It includes necessary information for the website to operate and includes information about the user and their preferences.
Most of the cookies are necessary for the operation of Opiq. It is possible to deny analytical cookies and in that case your usage data is not used to develop and improve Opiq services. Read more